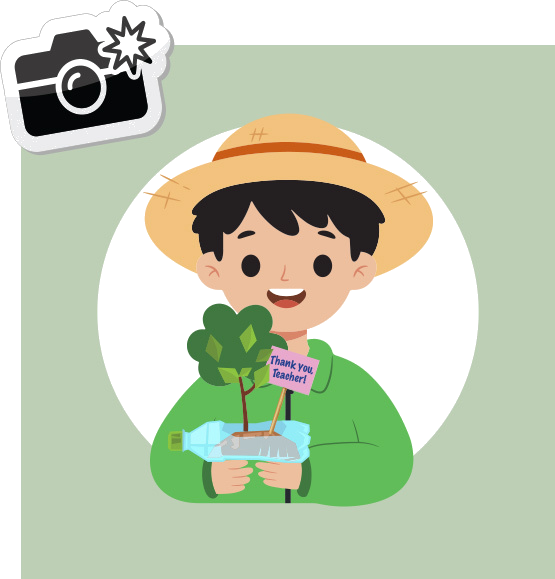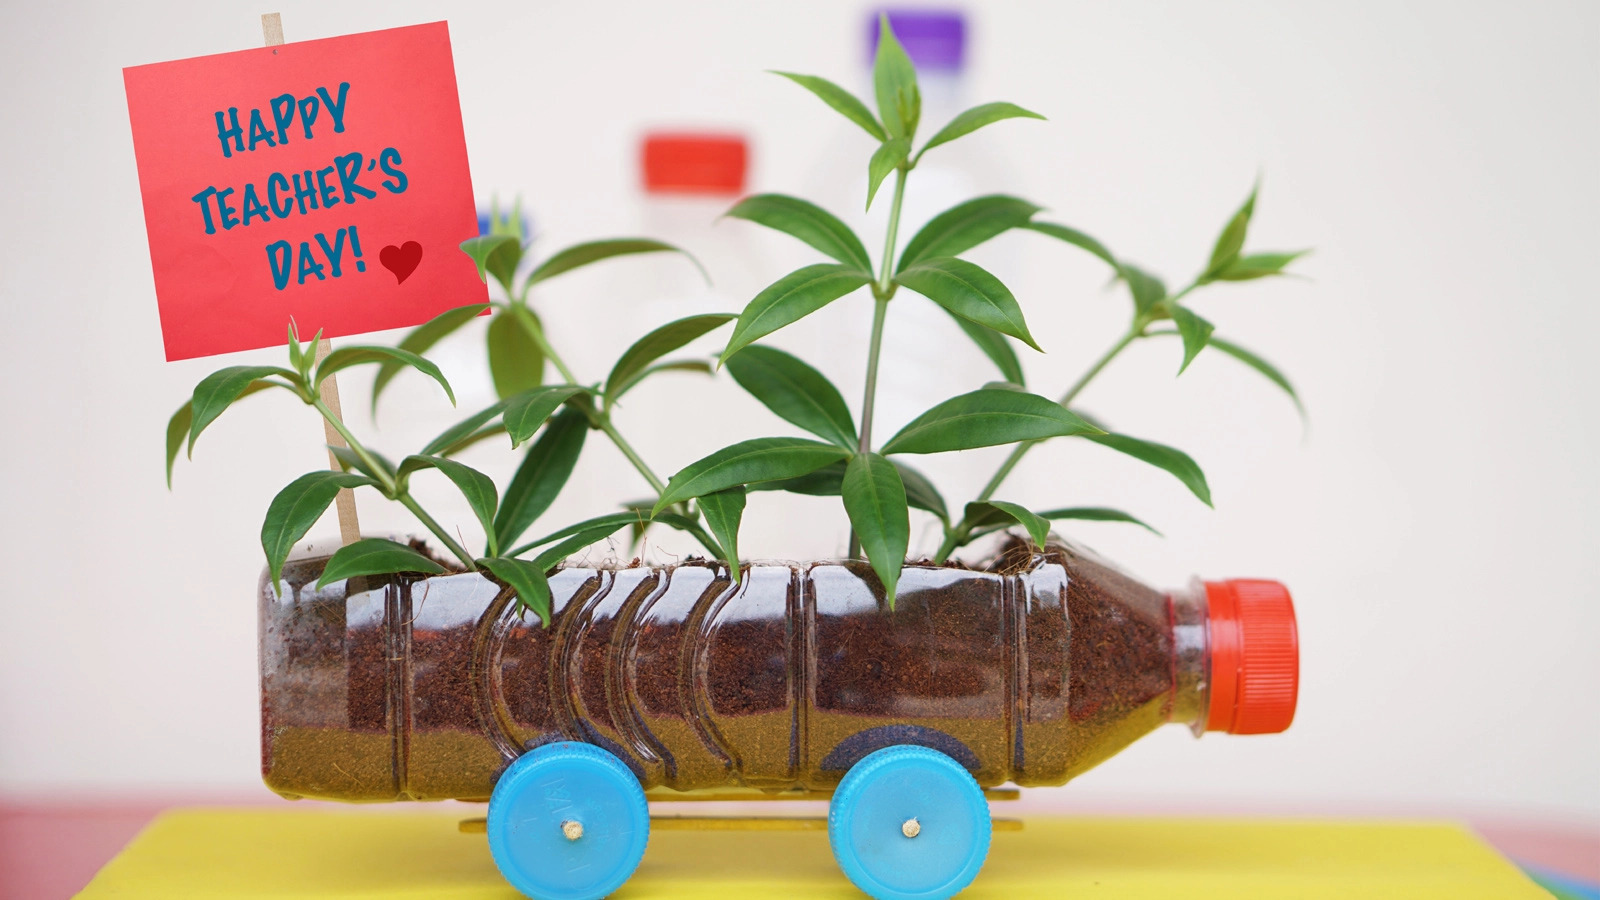

A mini herb garden in a recycled drink bottle is a sustainable gift that keeps on giving. Repurposed plastic bottles turned into car-shaped planters make practical and thoughtful gifts, especially for your child’s preschool educators who provide rich, nurturing environments that enable children to learn and grow. Seeing these little spots of greenery every day will put smiles on their faces beyond Teachers’ Day.
This craft and gardening activity can:
- Foster an appreciation for nature through the hands-on process of rooting the herbs and preparing the planter.
- Encourage children to be stewards of the environment by making creative use of resources and reducing waste.
- Promote healthy eating when parents explain the health benefits of herbs used. For example, mint can aid digestion and relieve cold symptoms, while lemon balm’s calming properties can reduce stress and improve sleep quality.
- Develop fine motor skills and hand-eye coordination through actions such as scooping soil, digging holes for the herbs, and gluing the bottle caps to the chopsticks.
RECYCLED PLASTIC BOTTLE PLANTER
WHAT YOU’LL NEED
- Empty plastic bottle
- Pen knife or scissors
- Sandpaper or clear tape
- Disposable chopsticks
- Glue
- 4 bottle caps
- Soil or potting mix
- Herb cuttings (e.g. mint, borage, basil, parsley, lemon balm, rosemary, cilantro)
- Thick card paper
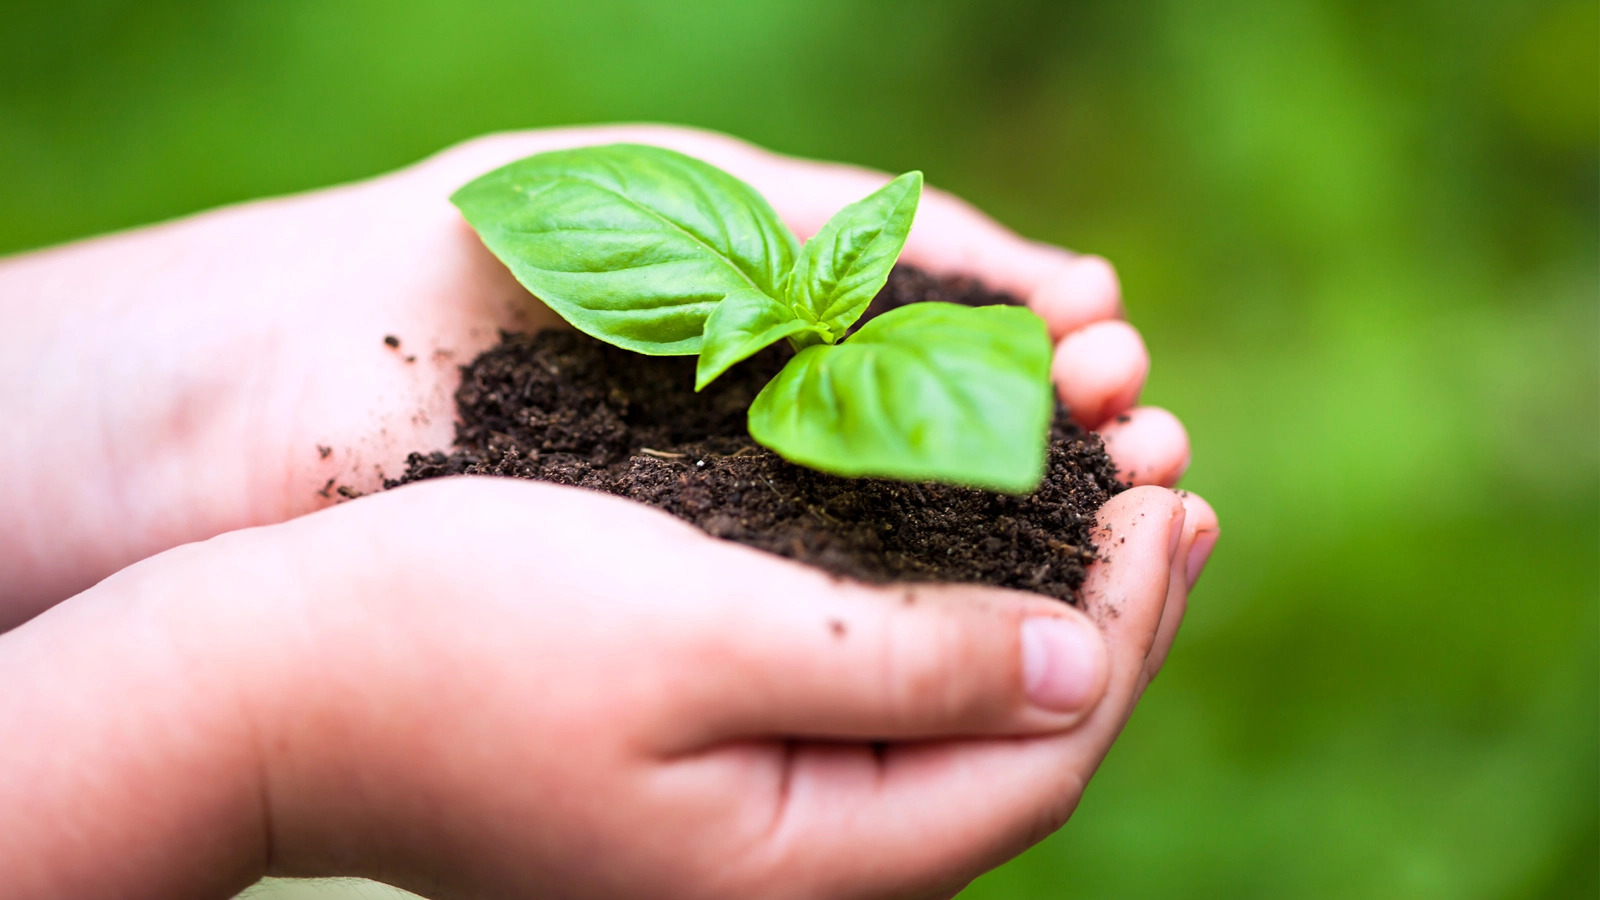 Choose fuss-free herbs easily grown from cuttings, such as basil, which thrives in our tropical climate.
FOLLOW THESE STEPS
- Wash and dry a plastic bottle.
- Cut an opening in the side of the bottle with a pen knife or scissors. Smooth out the edges with sandpaper or use clear tape to cover them.
- Turn the planter upside down and cut a few small holes in the base for drainage.
- Cut disposable chopsticks to fit the length and width of the bottle. Glue the pieces together to form a rectangular frame for the bottle to sit on.
- Pierce a small hole in the centre of each bottle cap that will be used for the wheels. Attach to the chopstick frame with glue.
- Fill the planter with soil, insert the herbs, and water.
- Make a label using thick card paper pasted on a chopstick, with a handwritten message for Teacher. You can also use acrylic paint, gel markers, or found materials like buttons and fabric scraps to decorate the bottle.